
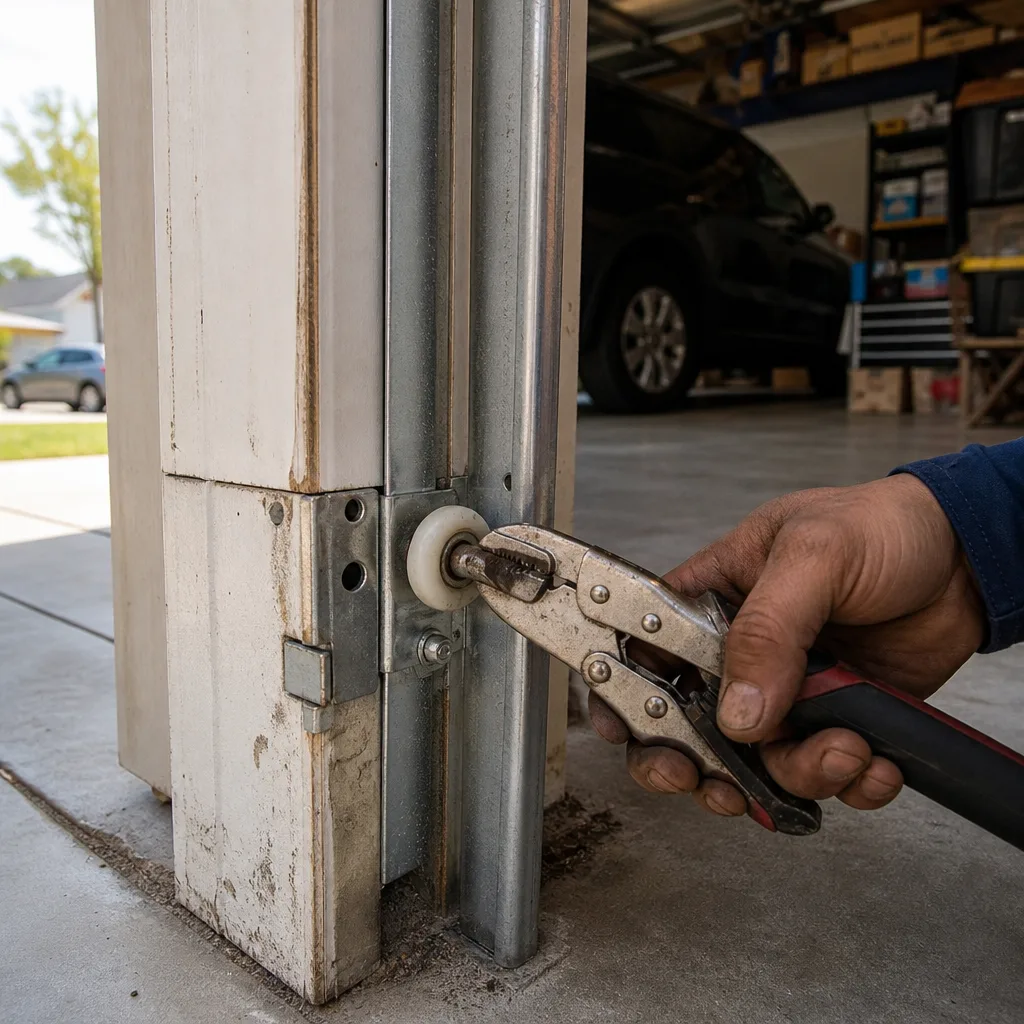
Last updated November 2, 2026
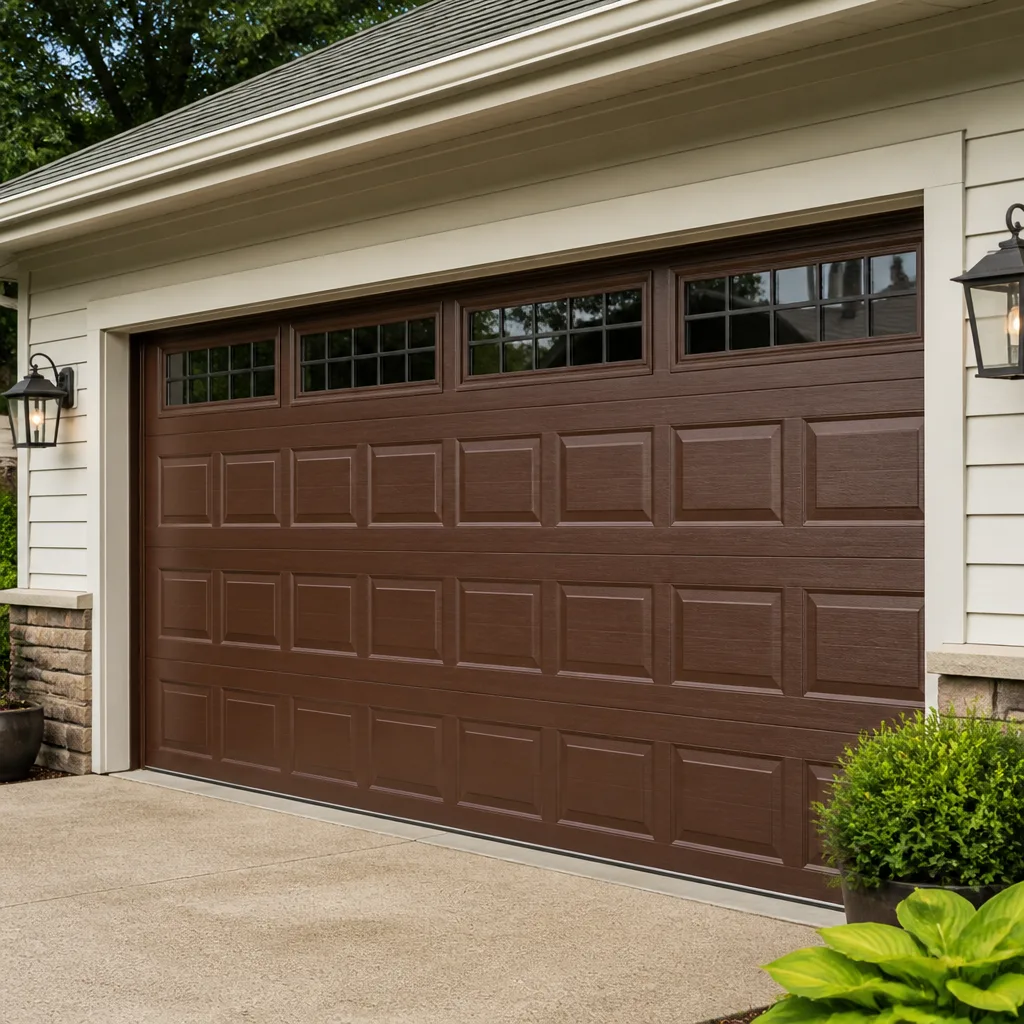 Raised-panel steel
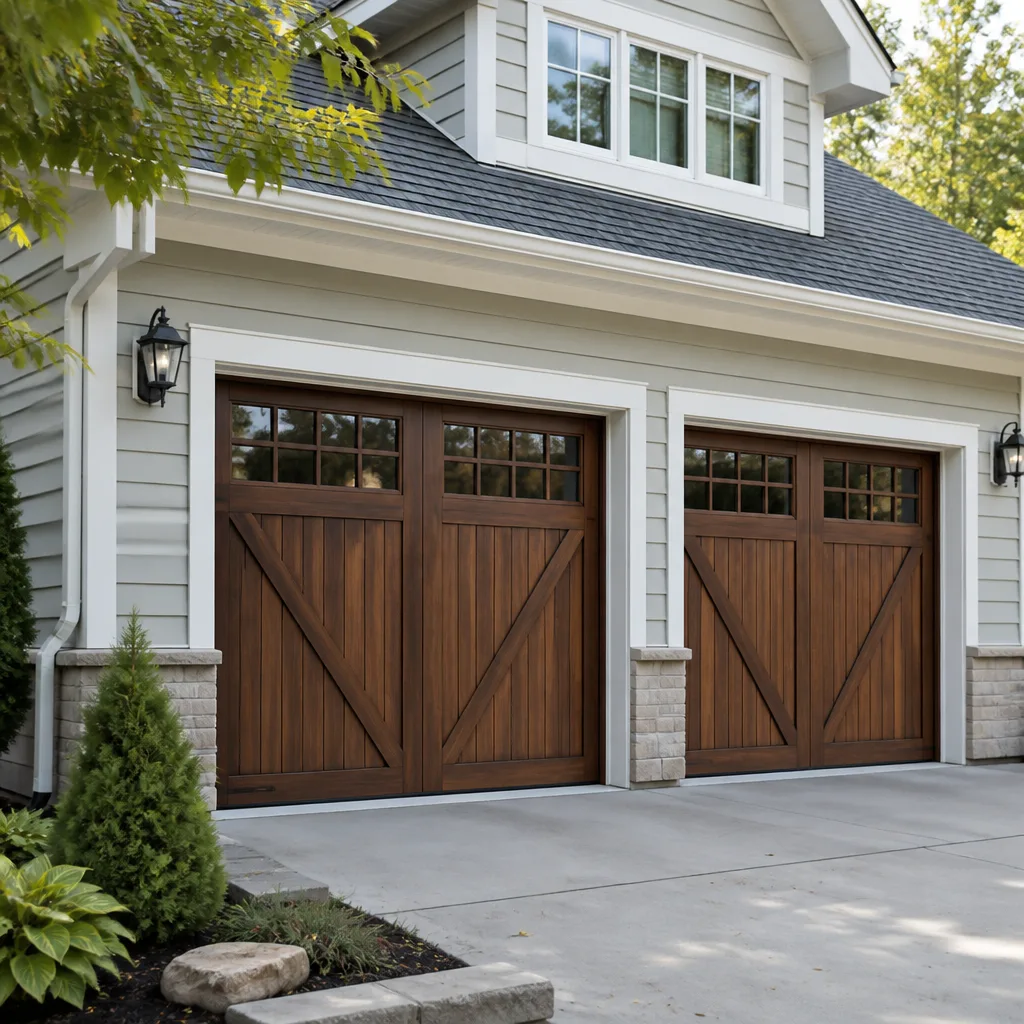 Carriage house
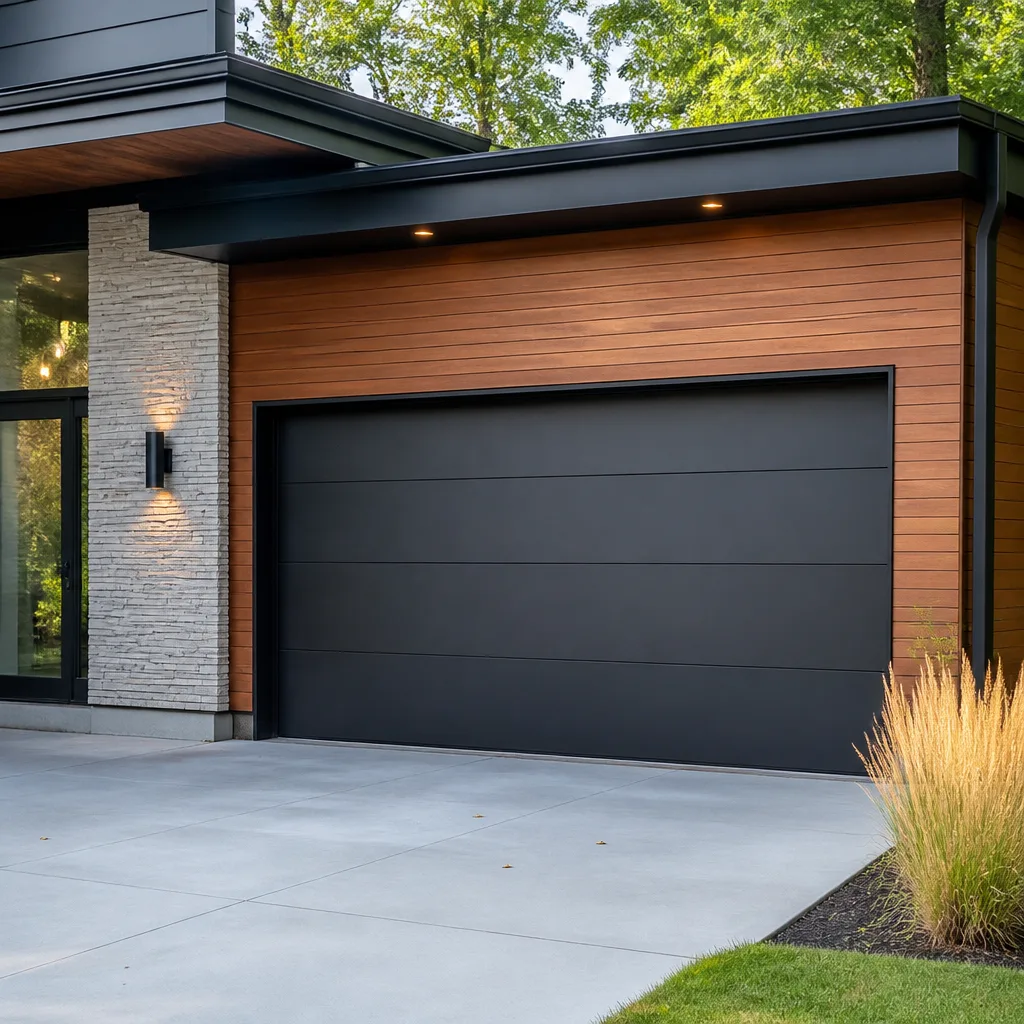 Modern flush
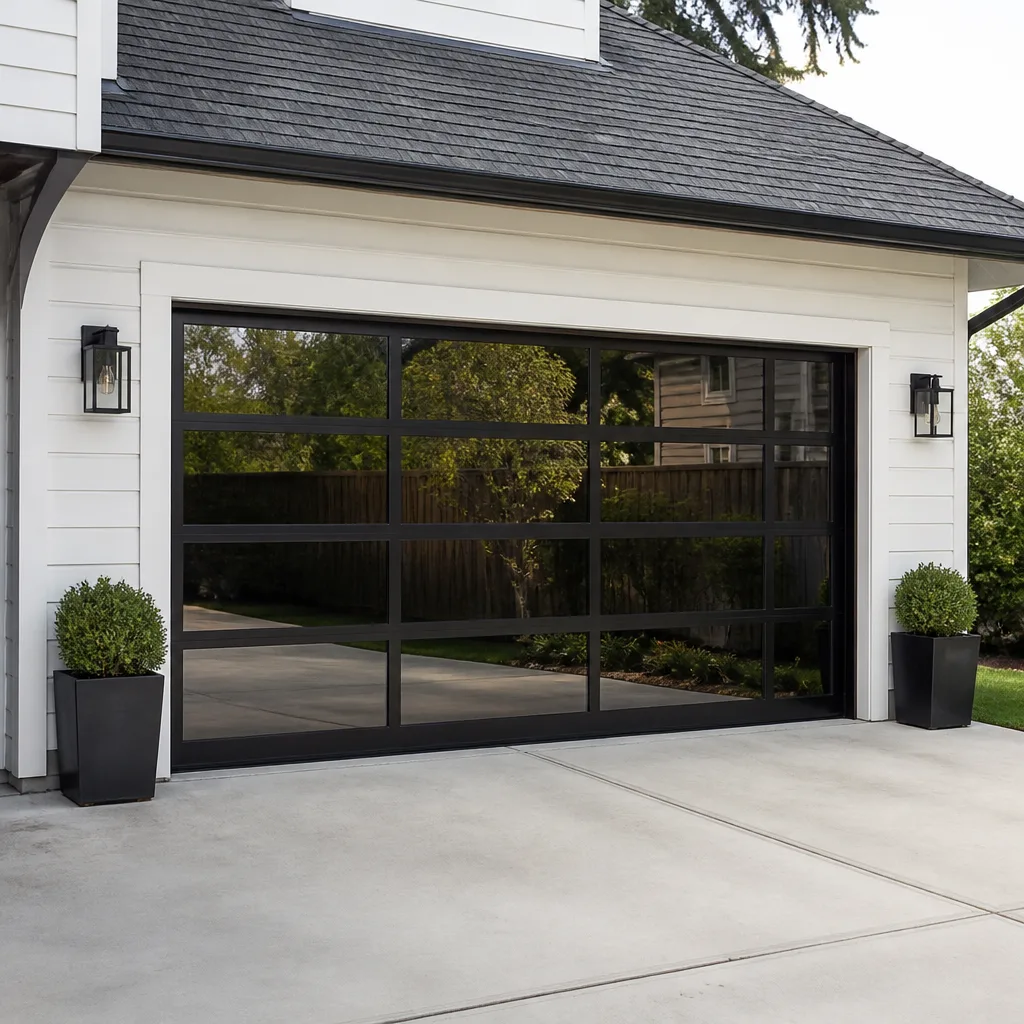 Full-view glass
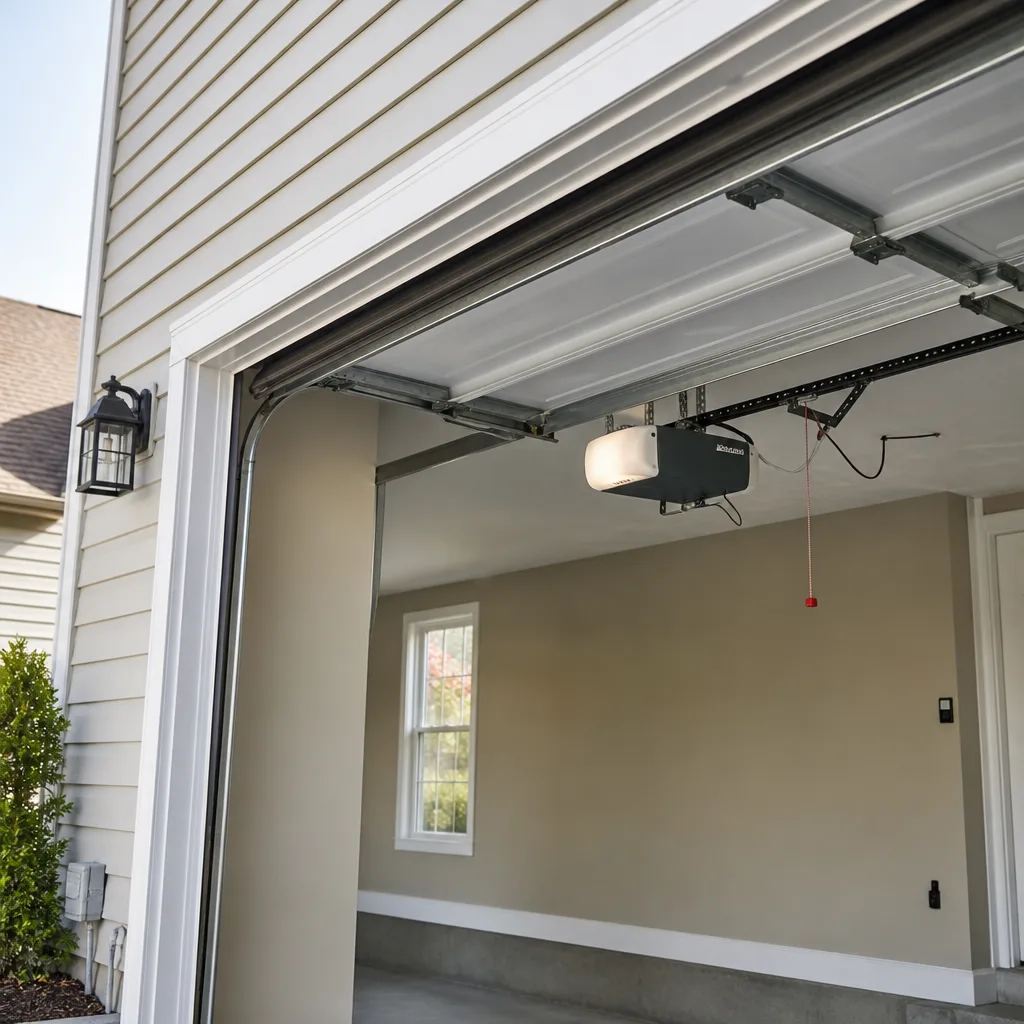 LiftMaster openers
 Chamberlain openers
Full 25-point door and opener safety check with every visit - springs, cables, rollers, tracks, and your LiftMaster or Chamberlain opener included
You get a price before we start. It does not change when the truck arrives.
Get your free estimateGarage Door Repair Troubleshooting: Common Problems and How to Fix Them
The garage door is the heaviest moving object in your home, and most people don’t think about it until the morning it refuses to open. Here’s a number that surprises most homeowners: roughly 70% of the service calls we make in Apple Valley involve a problem that took under 20 minutes to fix once it was correctly diagnosed. The hard part isn’t the repair, it’s knowing which of the 30 moving parts is actually responsible. This guide walks through the most common garage door failures, what they cost to fix, and the line between a DIY adjustment and our Garage Door Repair services. By the end, you’ll be able to identify whether you’re looking at a $30 sensor realignment or a $300 spring replacement before you touch a single tool.
Styles & brands we work with
- Raised-panel steel
- Carriage house
- Modern flush
- Full-view glass
- LiftMaster openers
- Chamberlain openers
Quick Answer
Most garage door problems fall into one of three categories: sensor misalignment, track or roller wear, or spring and cable failure. Sensor issues are the most common and the cheapest to fix, usually requiring a simple realignment of the photo-eye units near the floor. Spring and cable failures are the most dangerous and should always be handled by a trained technician, never as a DIY project.
Table of Contents
- Symptom-to-Cost: Know the Difference Between a $30 Fix and a $300 Fix
- Door Reverses Before Hitting the Floor: The Most Misdiagnosed Problem in Garage Doors
- The Three Sounds Your Garage Door Makes, and What Each One Means
- How to Safely Test Whether Your Spring Is Broken Without Getting Close to It
- Mechanical Failure vs. Electrical Failure: Why the Fix Path Is Completely Different
- Opener Error Codes: A Quick-Reference Guide for LiftMaster, Chamberlain, and Genie
- The Stop-Here List: Six Conditions Where DIY Makes the Problem Worse
- DIY-Safe Fixes: What You Can Honestly Do Yourself This Weekend
- Common Mistakes to Avoid
- When to Call a Professional
- Frequently Asked Questions
- The Bottom Line
Symptom-to-Cost: Know the Difference Between a $30 Fix and a $300 Fix
Every troubleshooting guide lists symptoms. Almost none of them tell you what those symptoms should cost to fix. That gap is why homeowners in Apple Valley end up either tightening a loose bolt and hoping for the best, or paying for a full spring replacement when a $12 roller was the actual problem. Here’s the honest price map, built from what we see on doors throughout the High Desert every week.
The $30-and-under tier includes misaligned photo-eye sensors, dead remote batteries, a tripped GFCI outlet, or a door that needs a limit-adjustment tweak on the opener. These are logic problems or alignment problems, not wear problems. They’re the most common issues on doors under ten years old. The $80 to $180 tier covers worn rollers, a stretched chain that needs tightening, a bent track section, or a failing weather seal along the bottom edge. This is normal wear on a door that cycles twice daily for five or more years. The $250 to $400 tier is where springs and cables live. Torsion springs on a double-wide door in Apple Valley typically run $220 to $350 installed, depending on spring rating and door weight. Cables run $150 to $250 when replaced as a pair.
The rule we give every customer is simple: if the problem appeared suddenly, it’s probably electrical or a broken part. If the problem developed gradually over weeks, it’s wear. Sudden plus loud equals broken spring. Sudden plus silent equals electrical. That distinction alone will save you from over-paying for a repair you don’t need, or under-repairing a door that’s about to strand you in the driveway.
Door Reverses Before Hitting the Floor: The Most Misdiagnosed Problem in Garage Doors
If your garage door starts closing and then immediately reverses back up before it touches the ground, most online guides will tell you to adjust the open-force limit on your opener. That’s wrong more often than it’s right. In Apple Valley, the real culprit is usually a misaligned safety sensor, and the fix takes about 90 seconds.
The two photo-eye sensors sit near the floor on either side of the door opening. One sends an infrared beam, the other receives it. If anything interrupts that beam, or if the sensors get knocked out of alignment, the opener’s logic board assumes something is under the door and reverses it as a safety precaution. Dust, a broom leaning against the wall, or a child’s bike can all trigger this. Here’s the diagnostic sequence we use:
- Check whether one of the sensor lights is blinking. A solid light means aligned and receiving. A blinking light means the beam is broken or the unit is misaligned.
- Gently wipe the sensor lenses with a dry cloth. High Desert dust builds up fast, and a dirty lens blocks the beam.
- Check if anything has shifted into the beam path, like a rake or a trash can.
- If the lights still blink, loosen the wing nut on the sensor bracket and adjust it until the light goes solid.
- Test the door. If it still reverses, the sensor wiring or the logic board is the next suspect, and that’s a call to a technician.
The open-force limit adjustment exists for a completely different problem: a door that reverses after hitting the ground. When the door touches the floor and the opener doesn’t detect enough resistance, it assumes it hit an obstruction and reverses. That’s when you adjust the close-force setting. Mixing up these two symptoms leads to people making the wrong adjustment, which then creates a new problem on top of the old one. If your door closes fully, then reverses, the force limit is the issue. If your door never reaches the floor at all, it’s the sensors.
The Three Sounds Your Garage Door Makes, and What Each One Means
Garage doors talk. Not in the haunted-house sense, but in the mechanical sense: the sound a door makes while moving tells you exactly which component is wearing out. In our experience across Apple Valley, most homeowners describe the sound but don’t know how to read it. Here’s what the three most common sounds actually point to.
Grinding is the sound of metal on metal where there should be a buffer. Usually it’s the rollers. Roller bearings wear out after roughly 10,000 cycles, which for a door that opens twice a day is about 14 years. When the bearing seizes, the roller stops rolling and starts sliding along the track. You’ll hear a grinding or rasping sound, and you may see metal shavings on the track. The fix is replacing the rollers, which is a job that costs far less than most people expect and makes the door dramatically quieter. A grinding sound can also indicate a chain that’s too tight on the opener rail, scraping against the rail itself, but roller wear is the far more common cause.
Squealing is a high-pitched friction sound. On a garage door, it usually comes from one of three places: dry hinges, dry rollers, or an opener belt that’s slipping. Hinges and rollers are the easy fix, a few drops of silicone-based lubricant on each hinge pivot and roller bearing quiets most doors immediately. If the squeal persists after lubrication, it’s often the opener belt tension, which is a quick adjustment but one that requires access to the opener rail. Squealing that continues after both of those fixes points to worn pulley bearings on an extension-spring door, and those need replacement by a technician.
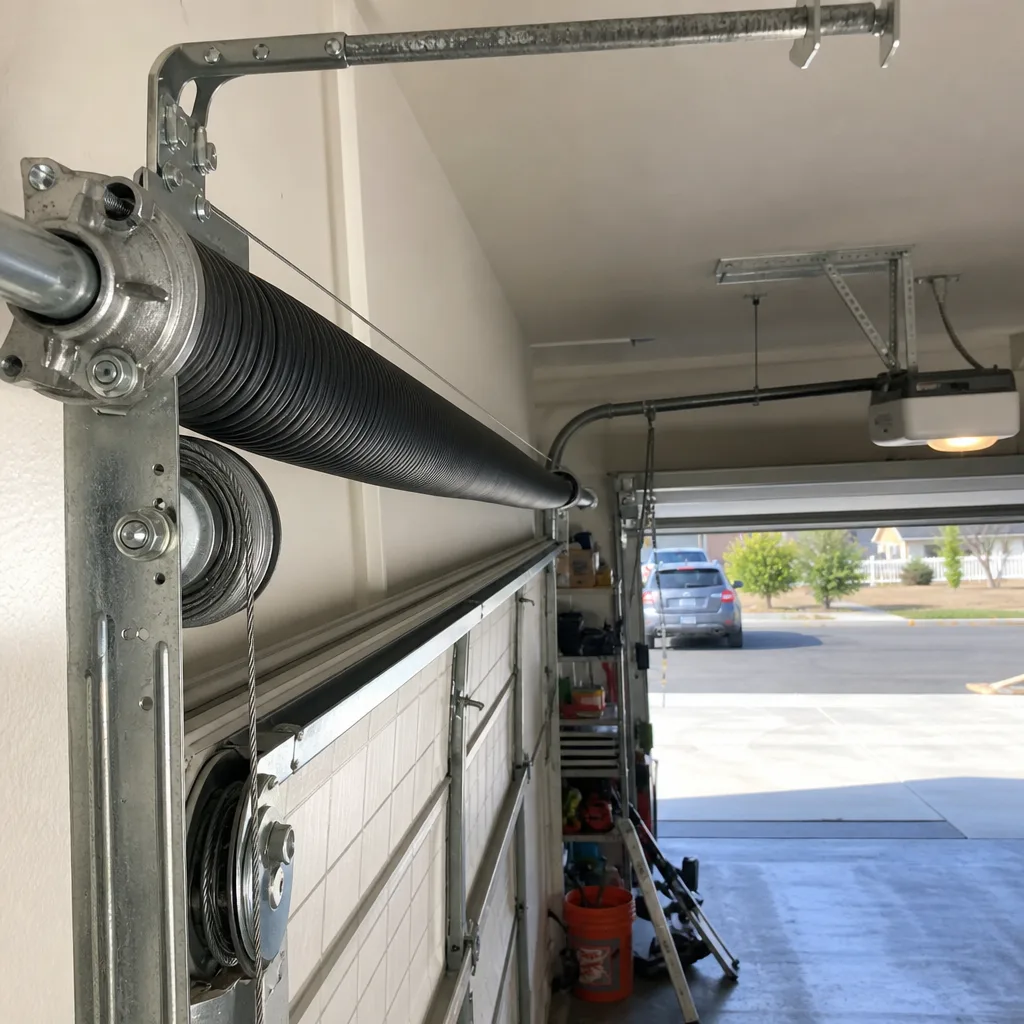
Popping is the sound you never want to ignore. A single, loud pop, followed by a door that suddenly won’t lift or feels extremely heavy when you try to raise it manually, means a torsion spring has snapped. Torsion springs are under enormous tension; when one breaks, the release of energy is audible, sometimes through the whole house. The pop is the spring breaking. If you hear it, you’ll know. Do not try to operate the door again until the spring is replaced. Continued operation with one broken spring puts unequal stress on the remaining spring, the cables, and the opener motor, turning a $300 fix into a $600 job.
How to Safely Test Whether Your Spring Is Broken Without Getting Close to It
If you heard a pop, or if your door suddenly feels impossibly heavy, you don’t need to climb a ladder and inspect the spring yourself. You shouldn’t. A broken torsion spring is still under residual tension, and the components around it are under load. There’s a safe way to confirm a broken spring from a distance using the manual disconnect cord, and it takes 30 seconds.
The emergency release cord is the red-handled cord hanging from the opener rail, usually near the top of the door. Here’s the test:
- Close the door if it’s open, or leave it closed if it already is. Do not stand under a partially open door.
- Pull the emergency release cord straight down. This disconnects the door from the opener carriage.
- Try to lift the door manually by its handle or bottom edge.
- A door with healthy springs should lift with moderate effort, roughly 10 to 20 pounds of force, and it should stay open on its own at chest height.
- A door with a broken spring will feel like lifting 150 to 250 pounds, and it will drop if you let go. Do not force it. Do not try to hold it open. Lower it gently if you can, or prop it if you must, and leave the door disconnected until a technician arrives.
That test, the lift-and-hold test, is the single most reliable DIY diagnostic for spring health. It requires no tools and no proximity to the spring itself. If the door passes the test, the spring is intact and the problem lies elsewhere. If it fails, stop using the door immediately. A broken spring turns a 250-pound door into a dead load, and the opener motor will burn itself out trying to lift it.
Mechanical Failure vs. Electrical Failure: Why the Fix Path Is Completely Different
Every garage door system has two independent systems working together: the mechanical side, which is the door, springs, cables, tracks, and rollers, and the electrical side, which is the opener motor, logic board, sensors, remote, and wall button. The fix path for each is completely different, and diagnosing the wrong side wastes time and money.
Mechanical failures are physical wear or breakage. The door sticks, grinds, sits crooked, sags on one side, or makes noise. These problems don’t throw error codes. They’re visible, audible, and tangible. Mechanical fixes involve parts: rollers, hinges, cables, springs, track sections, brackets. They require tools and, in the case of springs and cables, professional training because those components are under enough tension to cause serious injury.
Electrical failures are logic or power problems. The remote doesn’t respond, the wall button doesn’t respond, the opener clicks but doesn’t run, the door moves a few inches and stops, or the opener flashes an error code. These are problems with the circuit board, the capacitor, the travel module, the sensors, the receiver, or the wiring. Electrical fixes are often simpler than mechanical ones, a new battery, a re-paired remote, a replaced capacitor, a reprogrammed travel limit, but they require electrical troubleshooting skills and can involve line voltage.
Here’s the simplest way to tell them apart: disconnect the door using the release cord and try to move it manually. If the door moves smoothly by hand, the mechanical side is fine and the problem is electrical. If the door is heavy, stuck, or noisy when moved manually, you have a mechanical problem, and the opener is probably fine. This single test splits the diagnostic tree in half and tells you which specialist to call. At Brightwater Garage Door Repair, we work on both sides, the door hardware and the opener mechanism, which means a bouncing door and an intermittent opener fault get diagnosed in the same visit instead of requiring two different contractors.
Opener Error Codes: A Quick-Reference Guide for LiftMaster, Chamberlain, and Genie
Most modern openers have a diagnostic LED that flashes a code when something goes wrong. The code is specific to the brand, and knowing what it means can save you a service call. Here’s what the most common codes mean across the three opener brands most homeowners in Apple Valley have mounted on their ceilings.
LiftMaster and Chamberlain, which are built by the same parent company and share diagnostic language, use the following flash patterns on the motor unit:
- One flash: The safety sensors are misaligned or blocked. Check the sensor lights and beam path.
- Two flashes: The wall button is stuck or shorted. Disconnect it and test the remote.
- Three flashes: The door is obstructed or the travel limits are set incorrectly. Check for anything under the door, then adjust limits.
- Four flashes: The motor is overheating or the RPM sensor has failed. Give the motor 15 minutes to cool, then retry.
- Five flashes: The logic board has failed. This is a replacement job, not a repair.
Genie openers use a simpler two-light system: a round LED and a long LED. When both lights blink together, the travel limits need to be reset. When the round LED blinks red and the long LED blinks green, the safety sensors are the issue. A solid red light on a Genie normally means the opener is in lock mode. A red light that blinks three times, pauses, and repeats means the force setting needs adjustment. On any Genie with a display screen, you’ll see a numeric code, and the meaning is in the manual, but the sensor and limit issues above account for the vast majority of what we see on service calls.
Here’s the thing about error codes: they tell you where the opener’s logic board thinks the problem is, but they don’t tell you why. A three-flash LiftMaster code could mean a cardboard box under the door, or it could mean a broken spring that’s making the door too heavy to lift. The opener can’t tell the difference. If you clear an error and it comes back, look at the mechanical condition of the door before replacing opener parts.
The Stop-Here List: Six Conditions Where DIY Makes the Problem Worse
Most garage door repairs are safe to attempt. A handful are not. Here’s the stop-here list, six conditions where continued DIY adjustment will either damage the door, void the opener warranty, or put you in the emergency room. High-tension springs and cables are genuinely dangerous, and we recommend a trained professional for anything on this list.
- A broken torsion spring. The spring is under enough tension to break a jaw or take a finger. If the lift test fails, do not attempt to replace the spring yourself. No YouTube video makes this safe.
- A frayed or snapped cable. Cables work alongside the springs, and when they fail, the remaining cable is under full load. A cable snapping free under tension moves fast enough to cause serious laceration.
- A door that’s off its track. If a roller has jumped the track or the track itself is bent, the door is unstable. The more you operate it, the more damage it does to the panels and the more likely it is to fall.
- A door that sags visibly on one side. This points to a broken spring, a broken cable, or a structural issue with the door sections. Operating a sagging door twists the panels and ruins the door itself.
- Any repair that requires removing a bottom bracket or spring bracket. These brackets are under constant spring tension. Removing one without securing the spring first releases that tension suddenly.
- An opener that trips the circuit breaker repeatedly. This is an electrical fault inside the motor or the wiring. Repeatedly resetting the breaker while the opener chugs through a short can cause a fire. Cut power and call an electrician or an opener specialist.
If you’re looking at any of these six conditions, the right move is to pull the emergency release, leave the door disconnected, and call for a professional diagnosis. In Apple Valley, that call usually gets answered the same day, and most garage door repairs are completed in a single visit.
DIY-Safe Fixes: What You Can Honestly Do Yourself This Weekend
For every stop-here condition, there are half a dozen small jobs you can absolutely handle with basic tools and 30 minutes of time. These fixes don’t require touching anything under spring tension, and they’ll solve the majority of intermittent garage door complaints.
Lubricate the moving parts. Once a year, hit the rollers, hinges, springs, and opener rail with a silicone-based garage door lubricant. Avoid WD-40, which works as a solvent and actually strips protective grease. A properly lubricated door runs quieter and extends roller life. In the Apple Valley climate, dust plus dry metal equals fast wear, so annual lubrication matters more here than in coastal California.
Replace the remote battery. If the wall button works but the remote doesn’t, change the battery before you do anything else. LiftMaster, Chamberlain, Genie, and Raynor remotes all use standard coin or 9-volt batteries available at any hardware store.
Tighten loose hardware. Your door cycles thousands of times per year, and vibration loosens bolts. Check the bolts on the track brackets, the hinges, and the opener rail. A socket wrench, 15 minutes, done. Loose track bolts are one of the most common causes of a door that shakes or rattles on the way up.
Clean and align the sensors. If your door reverses mid-close, clean the sensor lenses with a dry cloth and check that the brackets haven’t been knocked out of position. This fixes the problem more often than any opener adjustment.
Replace the weather seal. The rubber strip along the bottom of the door cracks and splits in the High Desert sun. If you can see daylight under the closed door, the seal is gone. A new seal costs under $40, installs with basic tools, and keeps dust, pests, and monsoon-season water out of the garage.
None of these jobs require specialized training. All of them prevent bigger problems. And all of them are the kind of maintenance that keeps a door running quietly for 15 or 20 years in this climate.
Common Mistakes to Avoid
- Adjusting the force limit to fix a sensor problem. When a door reverses before touching the floor, the force limit isn’t the issue. Crank the force up high enough to overcome the obstruction detection, and you’ve disabled the safety system that protects children and pets. That’s a door that will close on anything underneath it.
- Lubricating the track itself. The track is a guide rail, not a friction surface. Grease on the track attracts dust and grit, which then grinds against the rollers. Apple Valley dust makes this mistake worse here than almost anywhere. Lubricate the roller bearings and hinges, never the track.
- Continuing to use the opener after a spring breaks. The opener motor will try to lift that 250-pound dead load, and it will destroy itself in the process. A $300 spring replacement becomes a $300 spring replacement plus a $400 opener.
- Replacing parts based on error codes alone. The opener’s logic board doesn’t know whether a broken spring is causing the three-flash code. Diagnose the mechanical condition of the door before you spend money on opener parts.
- Ignoring a noisy door until it stops making noise. A door that squeals and then suddenly goes quiet hasn’t fixed itself. The noise stopped because the bearing seized and the roller started sliding instead of rolling. Quiet is often the moment before the door jams entirely.
- Tightening a chain or belt without checking the door balance first. Chain tension isn’t the root cause of a door that struggles to open. A worn spring makes the door heavy, and the opener strains against it. Tighten the chain without fixing the spring, and you’ve transferred the stress to the opener gear instead.
When to Call a Professional
You’ve run the diagnostics in this guide, and the situation hasn’t improved. Maybe the door failed the lift test, or there’s a cable hanging loose, or the error code points to the logic board. That’s the moment to make the call. Professional garage door repair in Apple Valley typically costs between $100 and $400 for most common repairs, and a good technician diagnoses the problem before quoting the fix, so you know what you’re paying for before work starts. At Brightwater, we work on doors from LiftMaster, Chamberlain, Genie, and Raynor, among others, so the brand of opener on your ceiling doesn’t matter. The diagnosis is free, the quote is given up front, and the price is agreed before any work begins. Brightwater Garage Door Repair offers free estimates in Apple Valley, call (855) 473-2508.
Frequently Asked Questions
Most garage door repairs in Apple Valley run between $100 and $400, depending on the part and the door. Sensor realignment and remote programming sit at the bottom of that range, worn rollers and track adjustments land in the middle, and spring or cable replacement is at the top. The price is always quoted and agreed before work starts, so the number doesn’t change once the technician sees the door. Call (855) 473-2508 for a free estimate.
When a garage door opens but won’t close, the problem is almost always in the safety sensor system, not the door itself. The photo-eye sensors near the floor send a beam across the opening, and if that beam is blocked, misaligned, or interrupted by dirt, the opener refuses to close as a safety precaution. Check the sensor lights and clean the lenses, then call a technician if the problem persists.
Yes, in most cases a broken spring can be replaced the same day. Most residential garage door companies in Apple Valley keep common torsion spring sizes on the truck, so the replacement doesn’t require a second visit. Expect to pay $220 to $350 for a standard double-wide door spring replacement, including labor.
We work on LiftMaster, Chamberlain, Genie, and Raynor openers, along with the other major brands found in residential garages. Because opener diagnostics are a core part of what we do rather than a sideline, intermittent problems get diagnosed in the same visit as the door hardware itself. No handoff, no second contractor.
No. The price we quote is the price you pay, agreed before any work starts. If the technician finds a second problem during the repair, the option to fix it is presented with its own quote, and nothing gets done without your approval. That’s how we operate at Brightwater, and it’s how garage door repair should work everywhere.
Most garage door springs are rated for 10,000 cycles, which translates to roughly 7 to 12 years for a door that’s opened twice a day in a normal Apple Valley residential setting. Extreme temperature swings in the High Desert can shorten that lifespan slightly. If your spring is approaching the decade mark, it’s worth having it inspected before it breaks.
The Bottom Line
Garage door troubleshooting comes down to one question: is the problem mechanical or electrical? Test it with the release cord. If the door moves smoothly by hand, the problem is on the electrical side, and it’s usually fixable with a sensor alignment, a new remote battery, or a reprogrammed travel limit. If the door is heavy or stuck, the problem is mechanical, and the most common culprit is a broken spring or a worn roller. Don’t over-repair a $30 sensor issue, and don’t under-repair a spring that’s about to fail. If you’re in Apple Valley and the diagnosis isn’t clear, call (855) 473-2508 and we’ll figure it out together. For more guides & resources, explore our blog.
Written by the team at Brightwater Garage Door Repair, serving Apple Valley since 2018.
See the difference
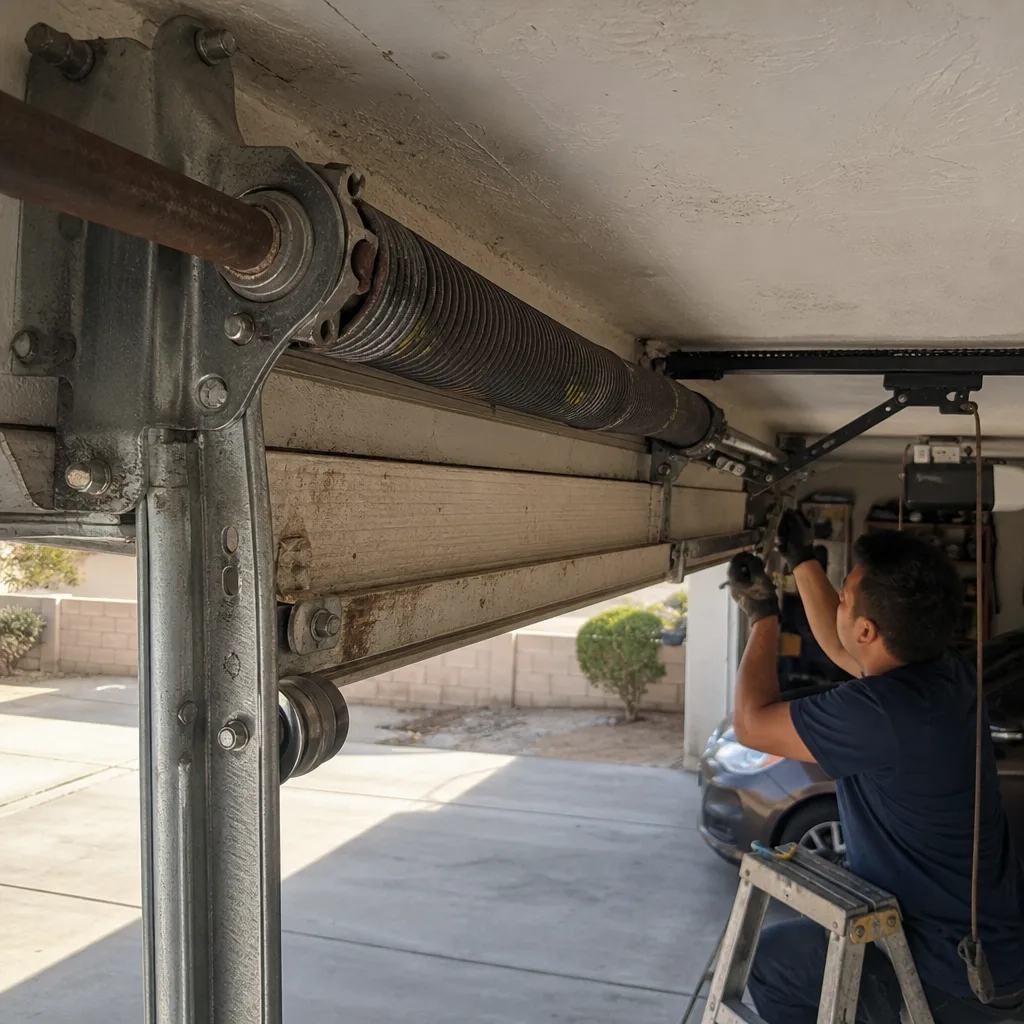 Before
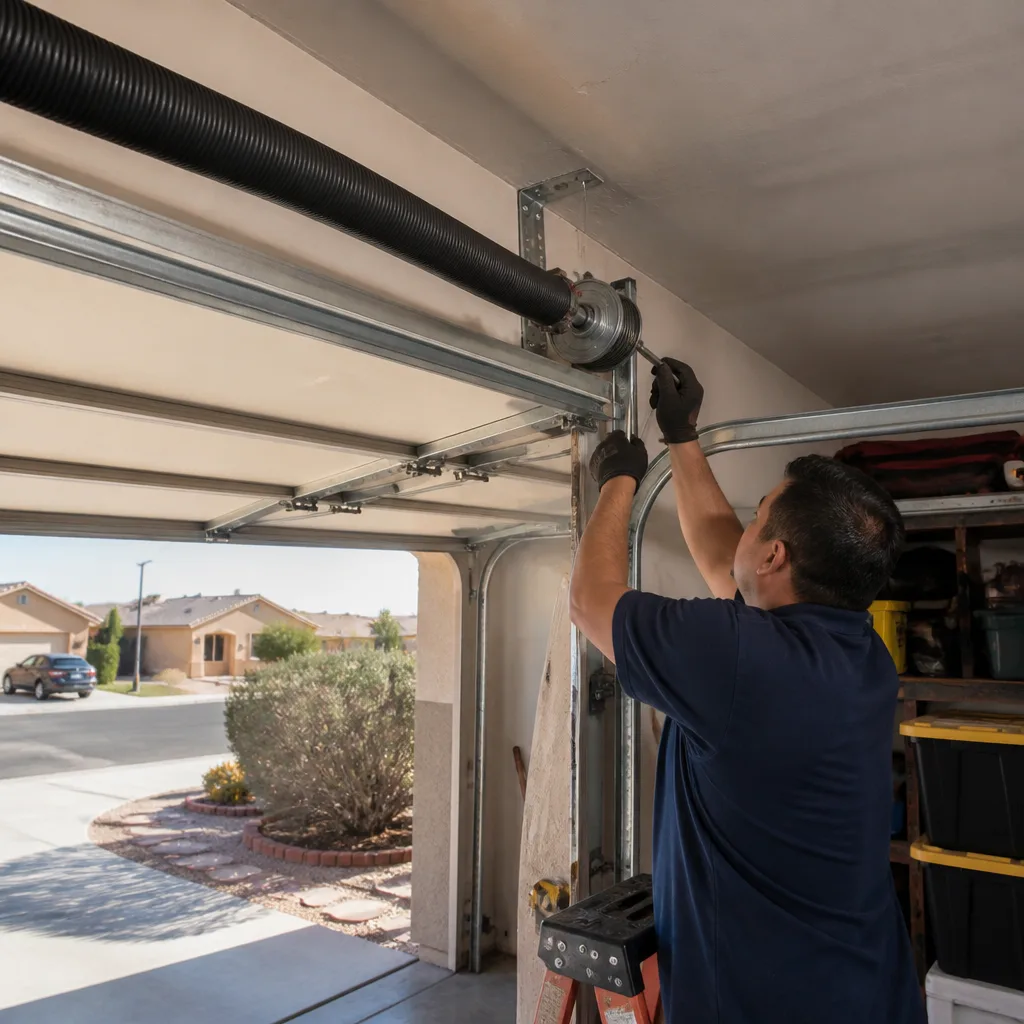 After
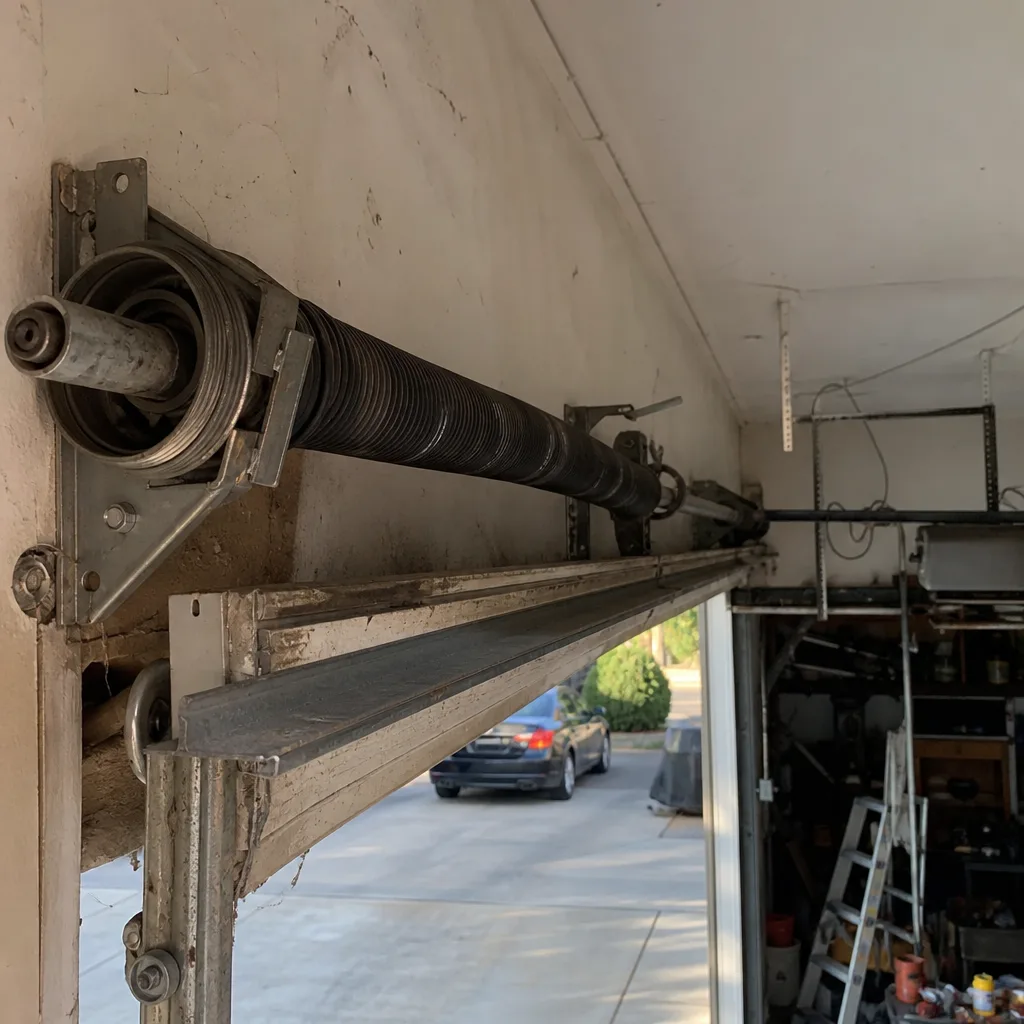 Before
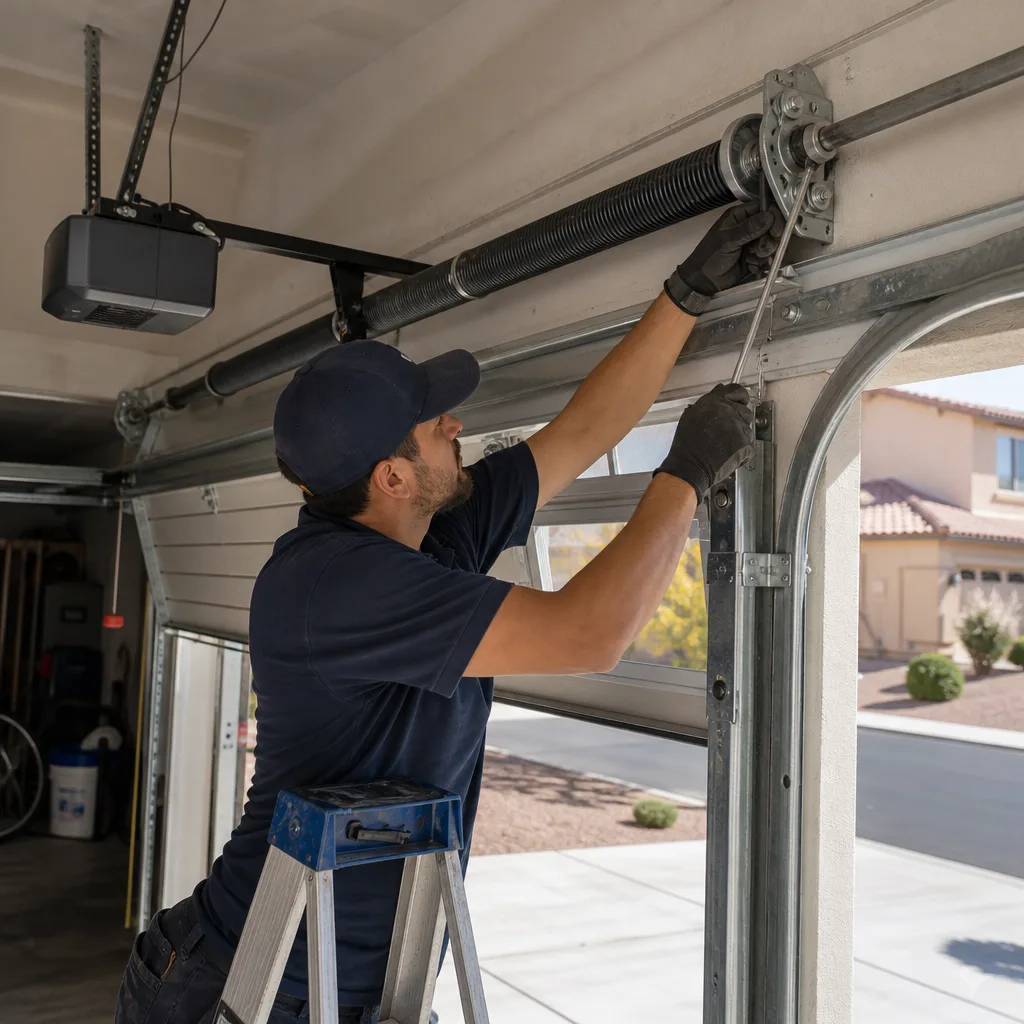 After
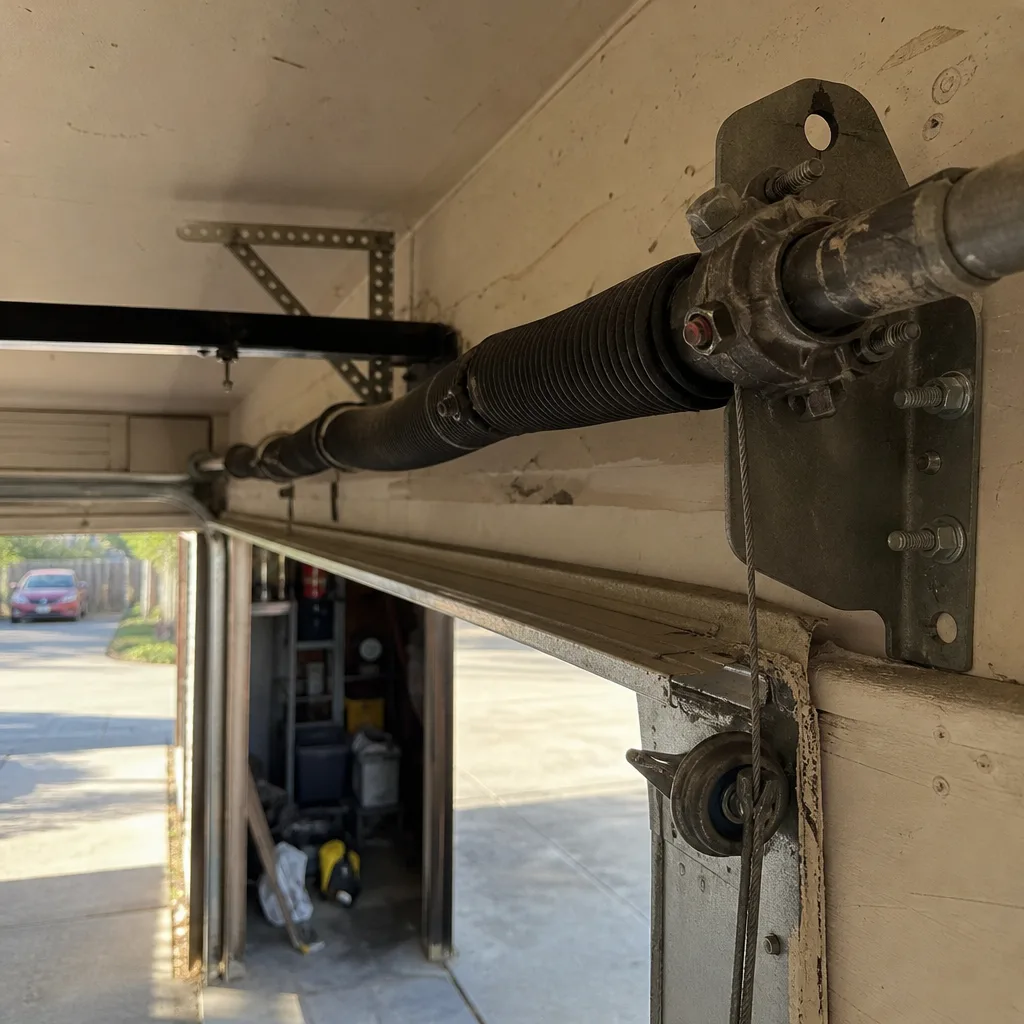 Before
 After